Login to the Meraki Dashboard using your credentials.

Next, hover over the Organization tab on the left side.
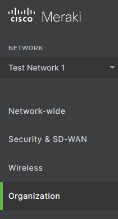
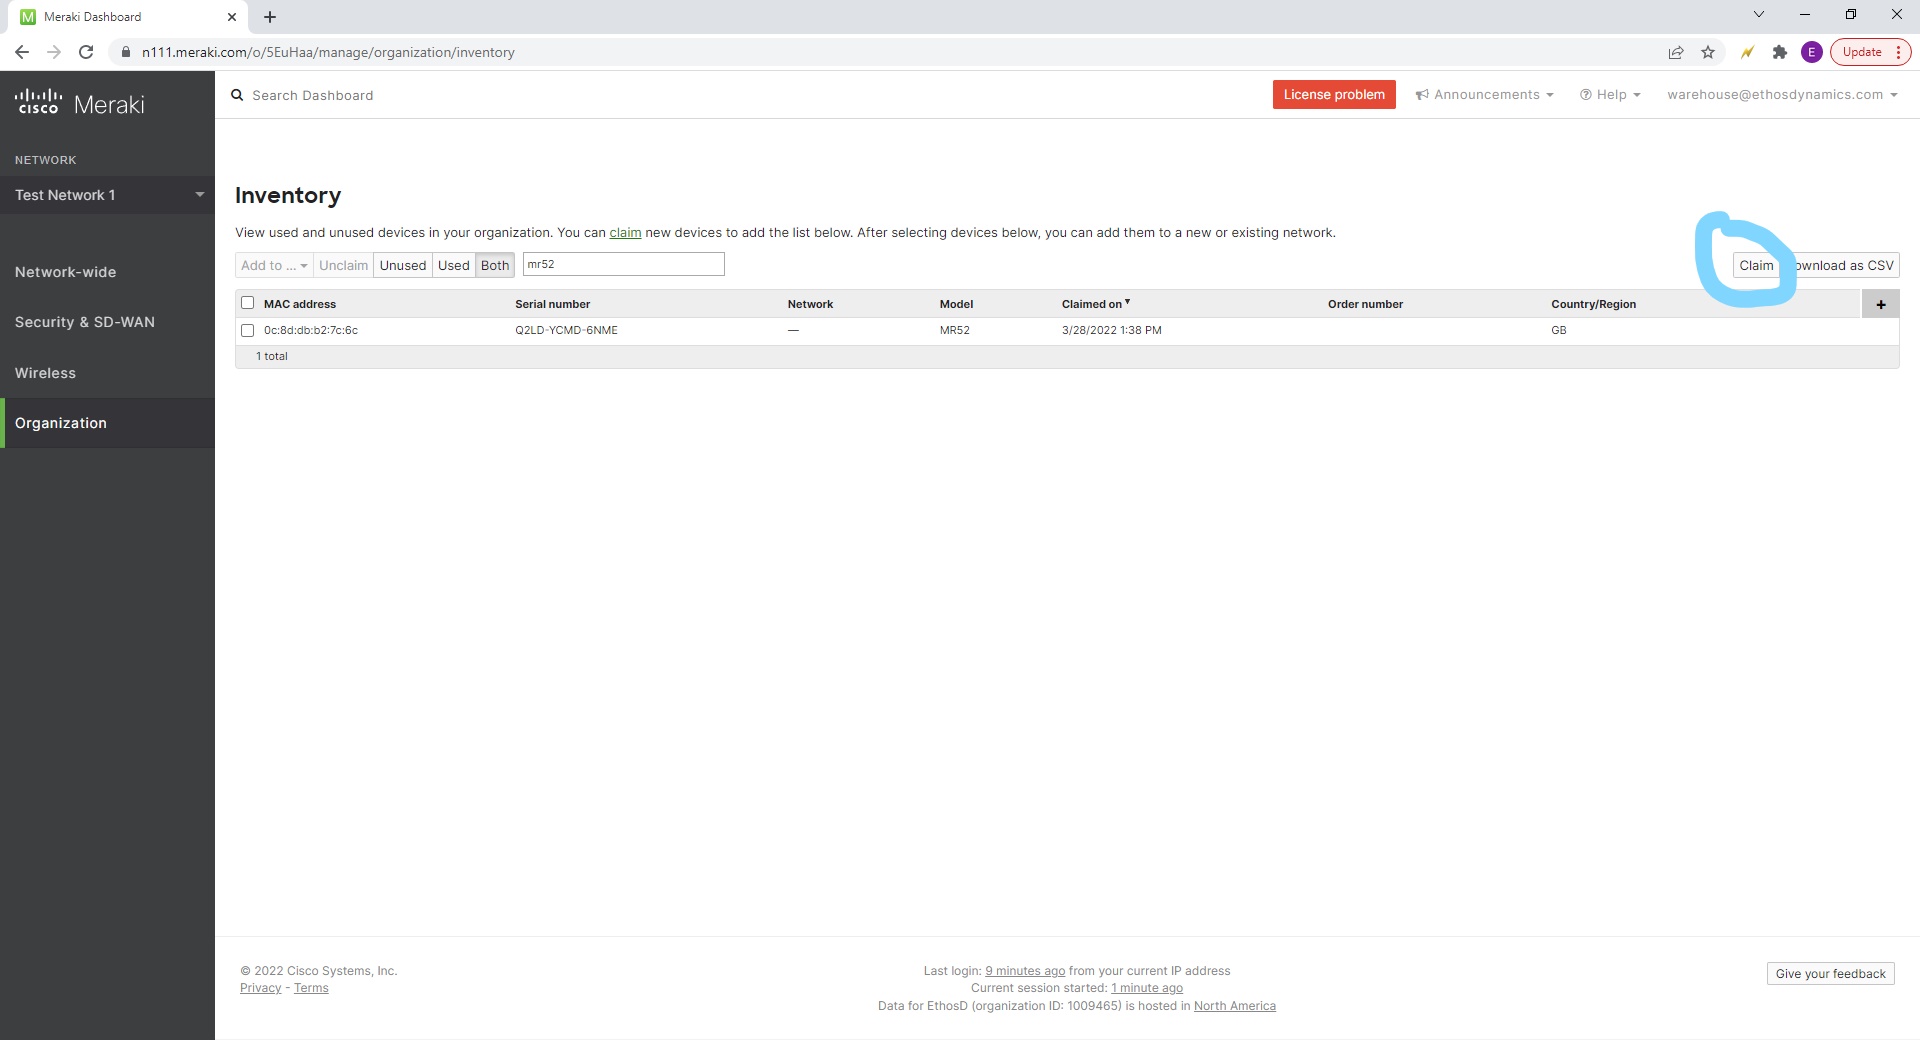
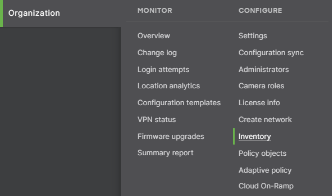
From the Organization tab, click on Inventory.
Enter SN into “Search Inventory” box.

Beside the devices Serial Number, you will see which Network the device is in.
![]()
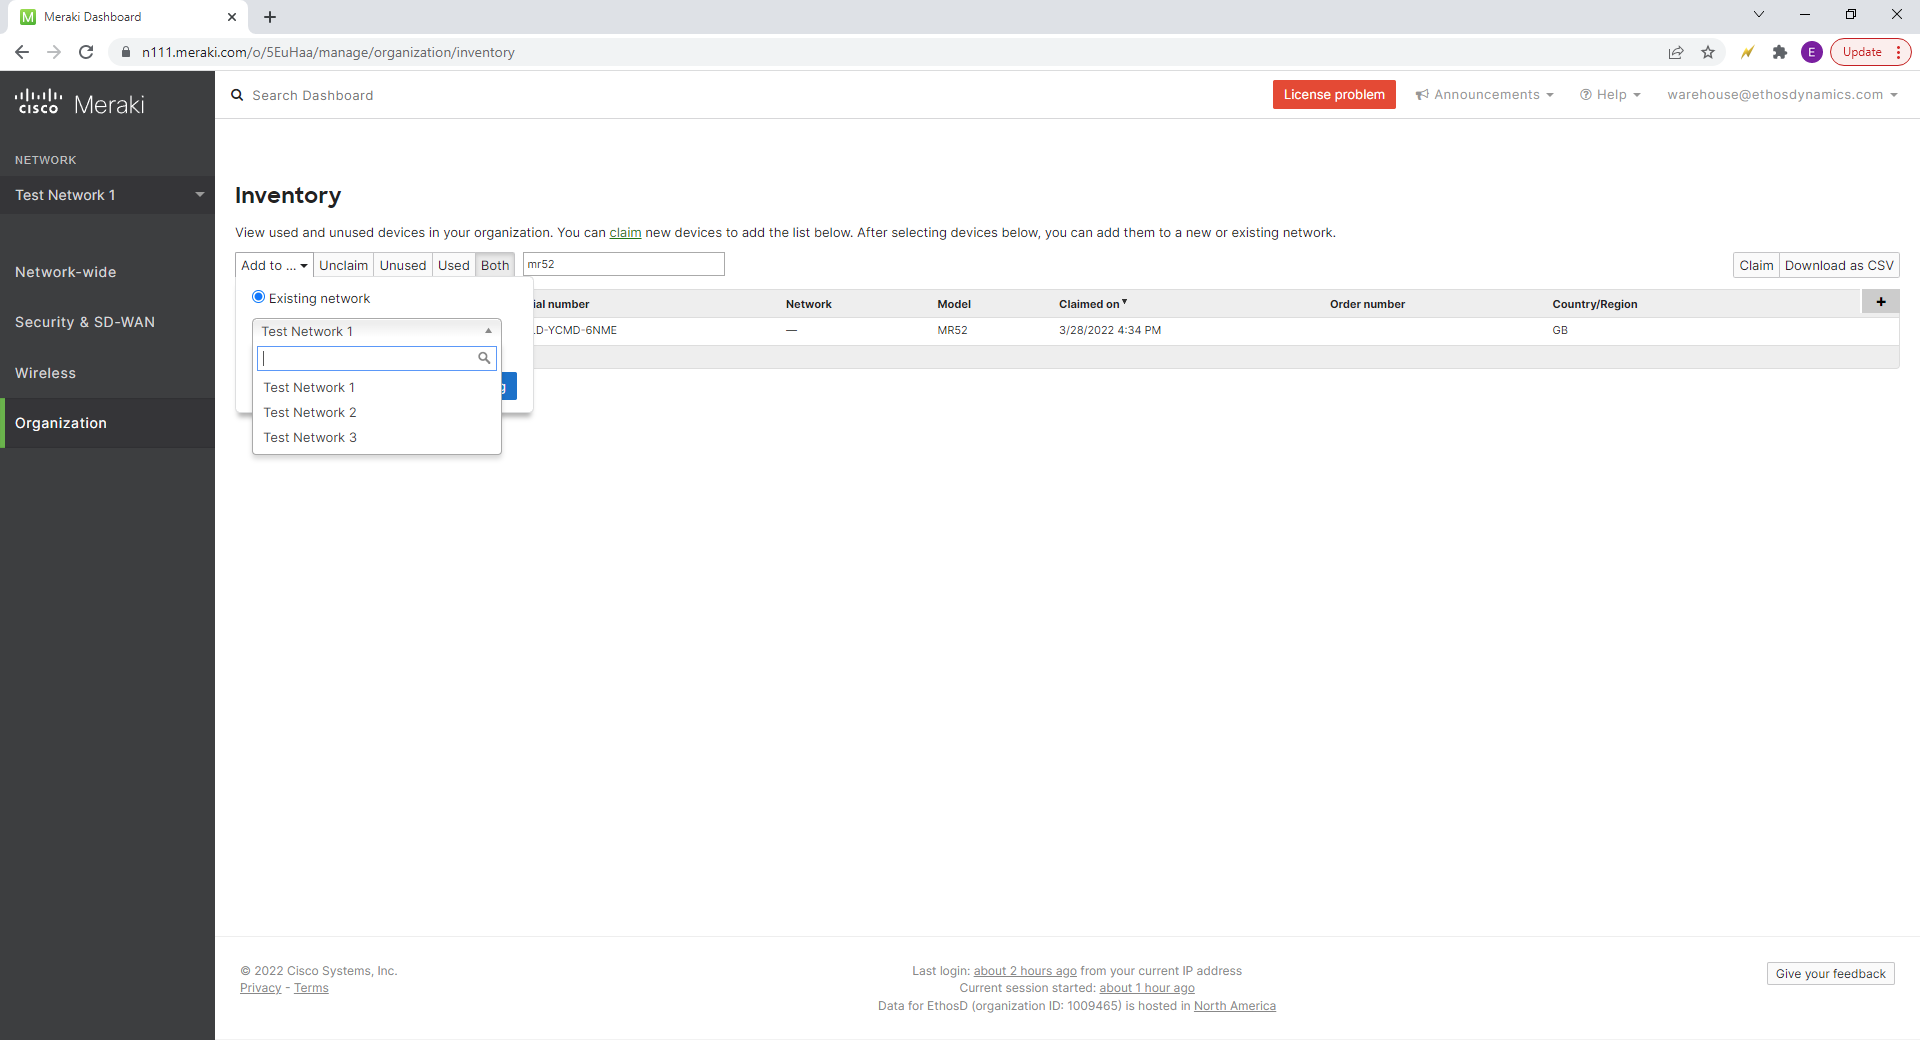
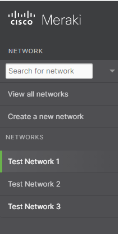
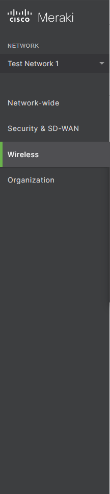
In the top left “Network” menu, click the drop down menu and choose the same Network the device is in.
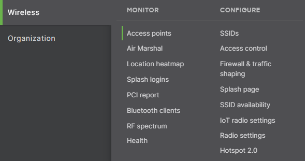
In this case, it is a Wireless Access Point, so once in the network, hover over “Wireless”, on the left side of the page.
Choose Access points from the Wireless tab.
Type in the SN in the “Search” bar.
![]()
Click the check box to the left of the unit you want to remove.
![]()
![]()
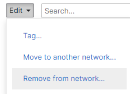
Click the “Edit” button.
![]()
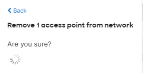
Choose Remove from network.
Choose Remove.
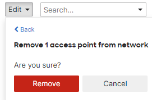
This will remove the unit from the active network.
In order to fully Unclaim, hover over Organization again on the left side of the page.
Choose Inventory from the Organization tab.

Enter SN into “Search Inventory” box.
Click the box to the left of the unit to highlight it.

Click “Unclaim”.
![]()
This will fully remove the SN from your network and organizations inventory.